What are Custom Nodes ?
Custom nodes are extensions for ComfyUI that add new functionality like advanced image processing, machine learning fine-tuning, color adjustments, and more. These community-developed nodes can significantly expand ComfyUI’s core capabilities. All custom node installations require completing these two steps:- Clone the node code to the
ComfyUI/custom_nodesdirectory - Install the required Python dependencies
| Method | Advantages | Disadvantages |
|---|---|---|
| ComfyUI Manager (Recommended) | 1. Automated installation 2. Dependency handling 3. GUI interface | Cannot directly search for nodes not registered in the registry |
| Git Clone | Can install nodes not registered in the registry | 1. Requires Git knowledge 2. Manual dependency handling 3. Installation risks |
| Repository ZIP Download | 1. No Git required 2. Manual control | 1. Manual dependency handling 2. No version control 3. Installation risks |
Method 1: ComfyUI Manager (Recommended)
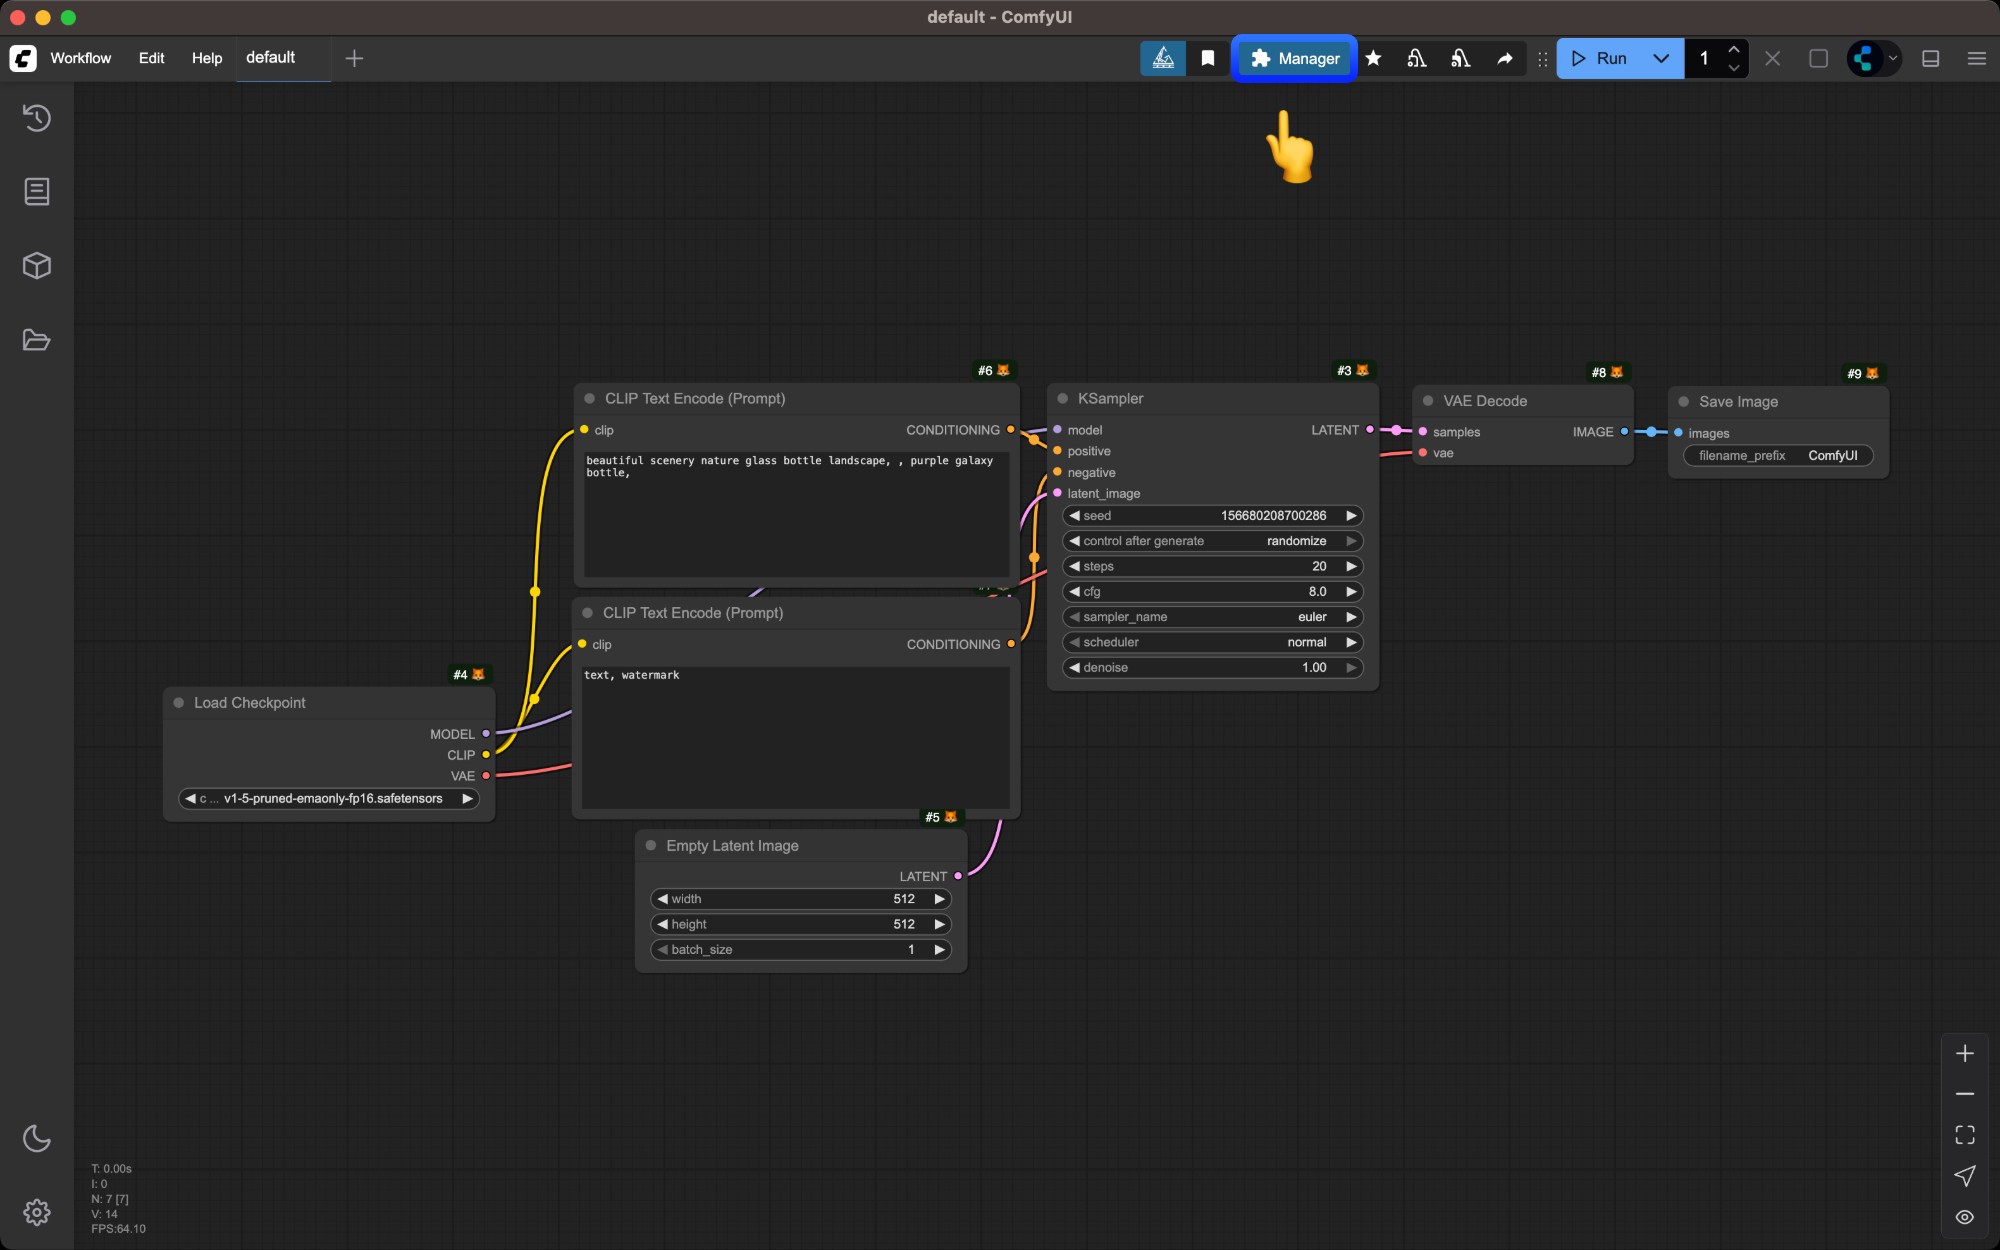

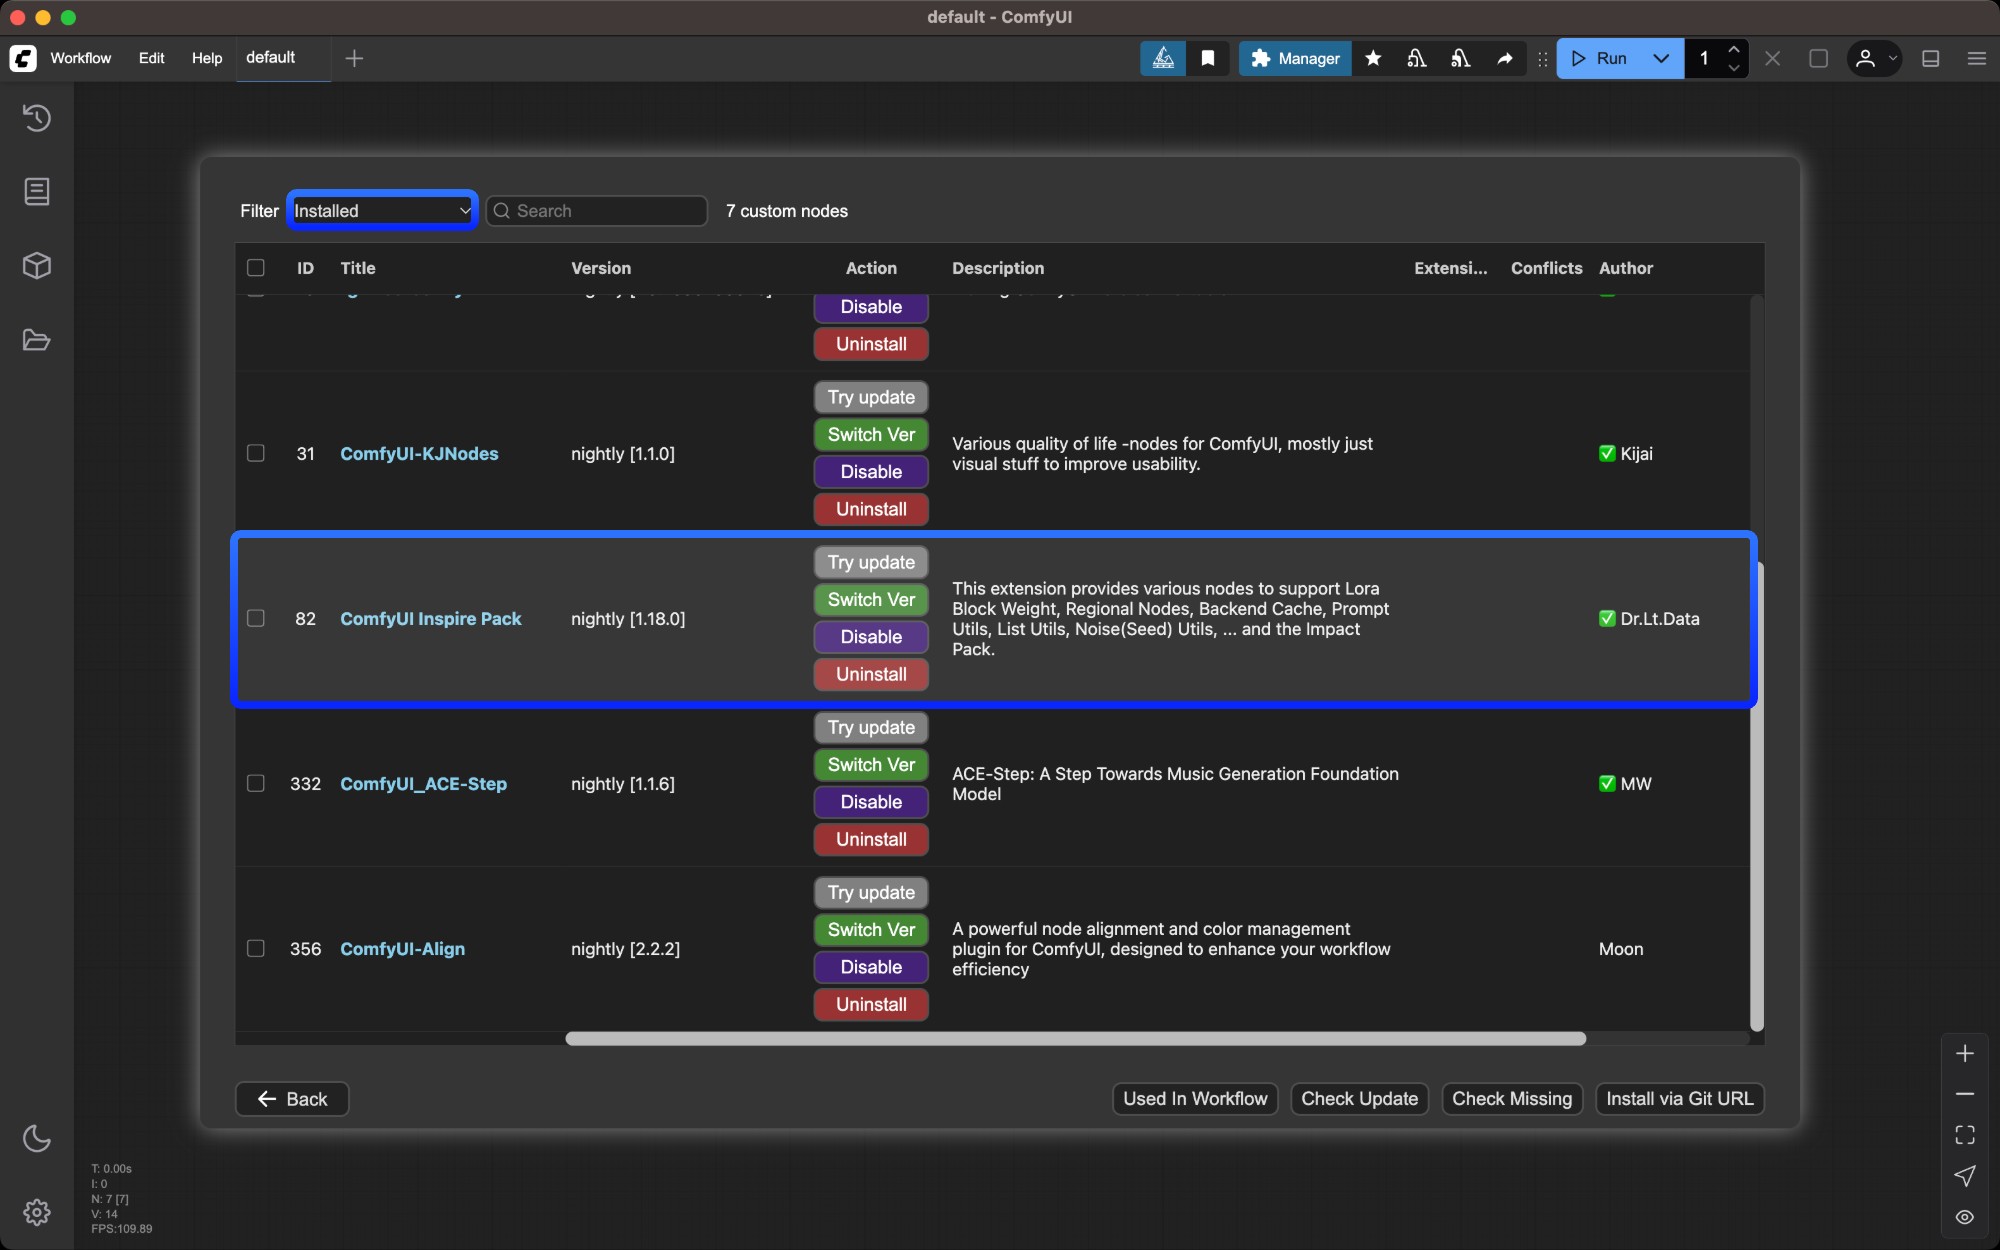
Browse the custom nodes list
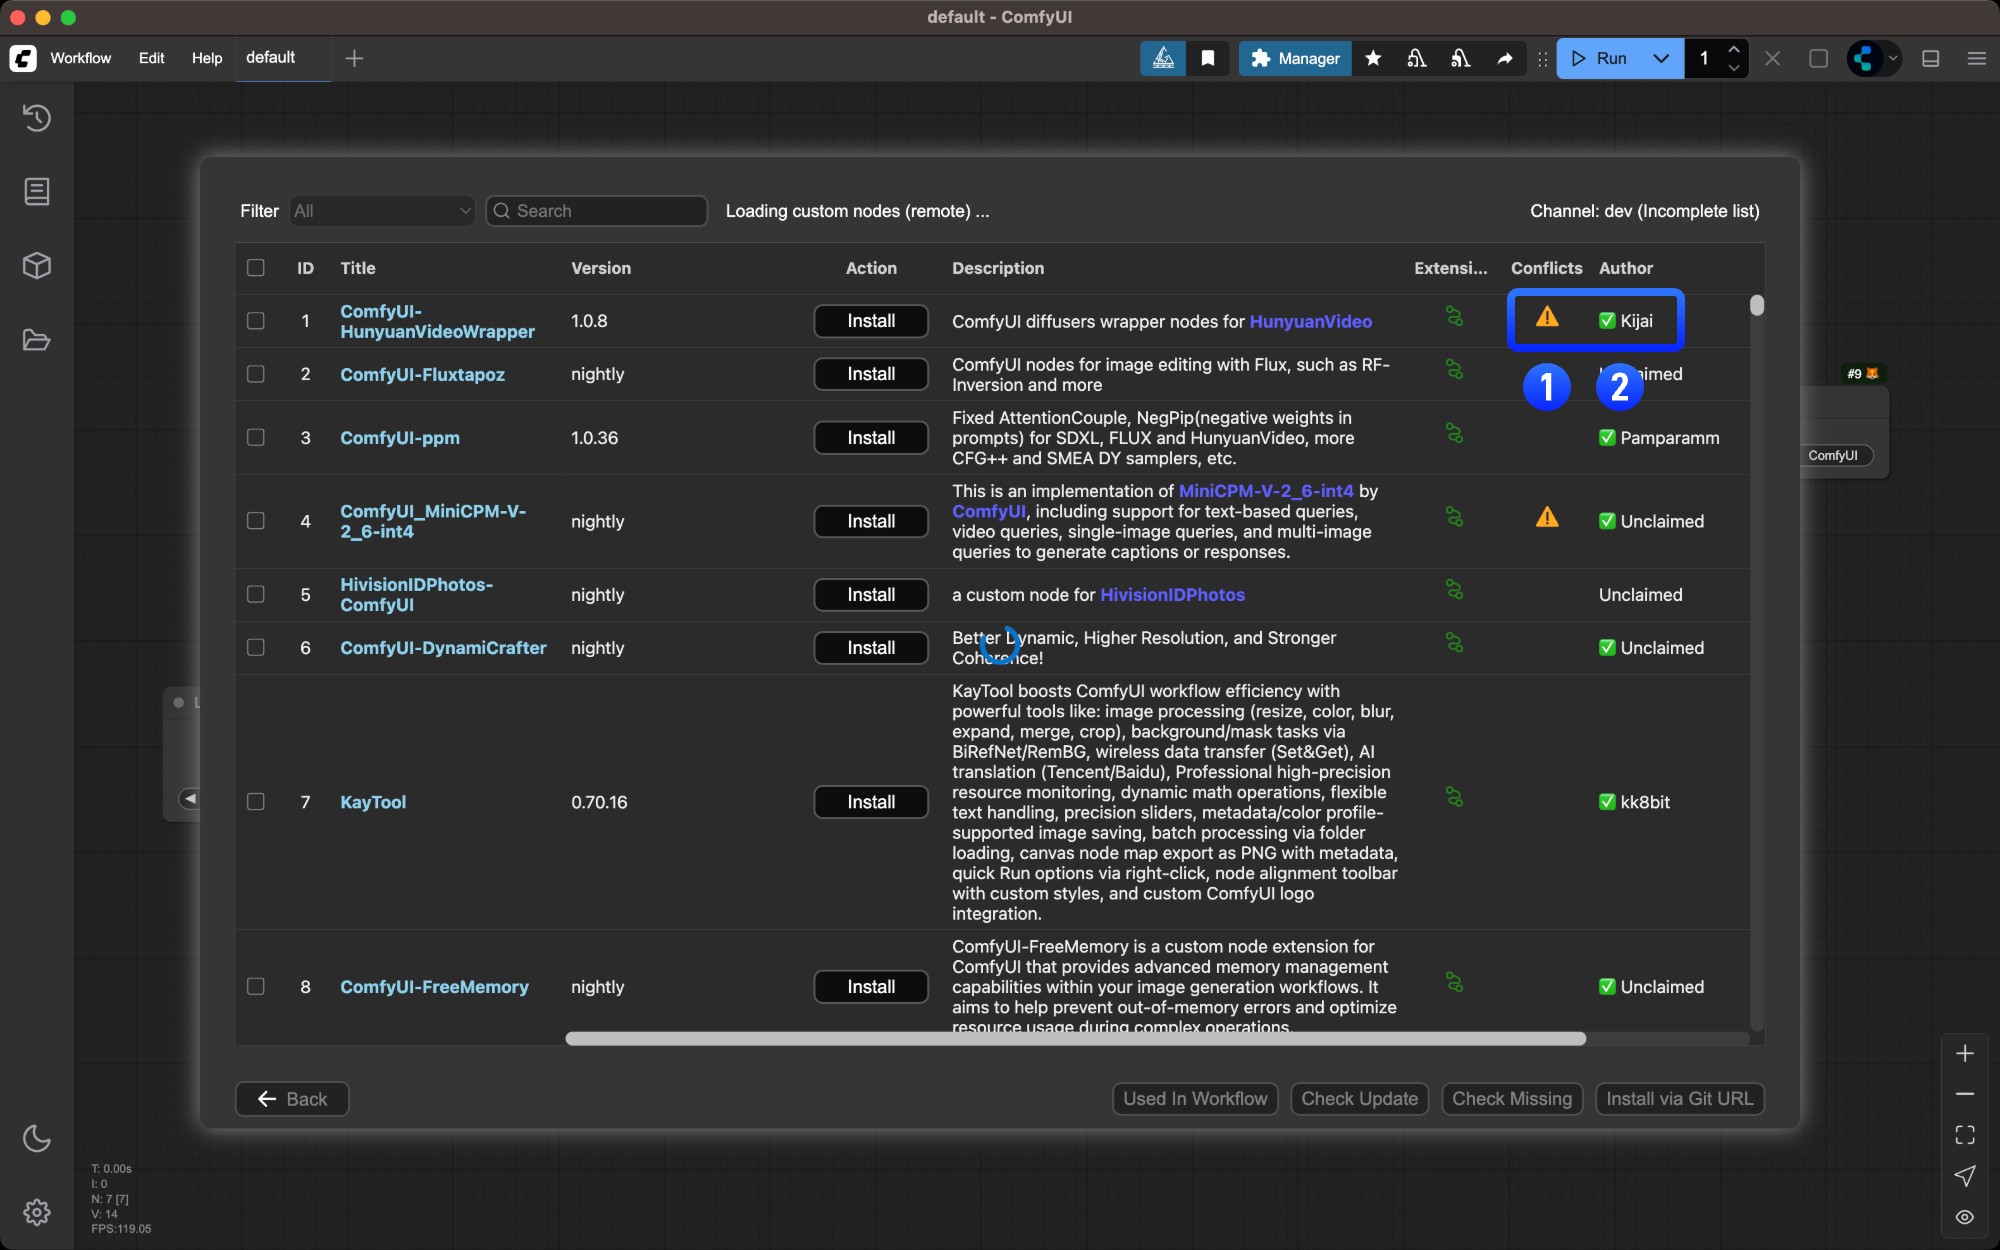
- Nodes marked with
⚠️may have dependency conflicts with other plugins - Author names marked with
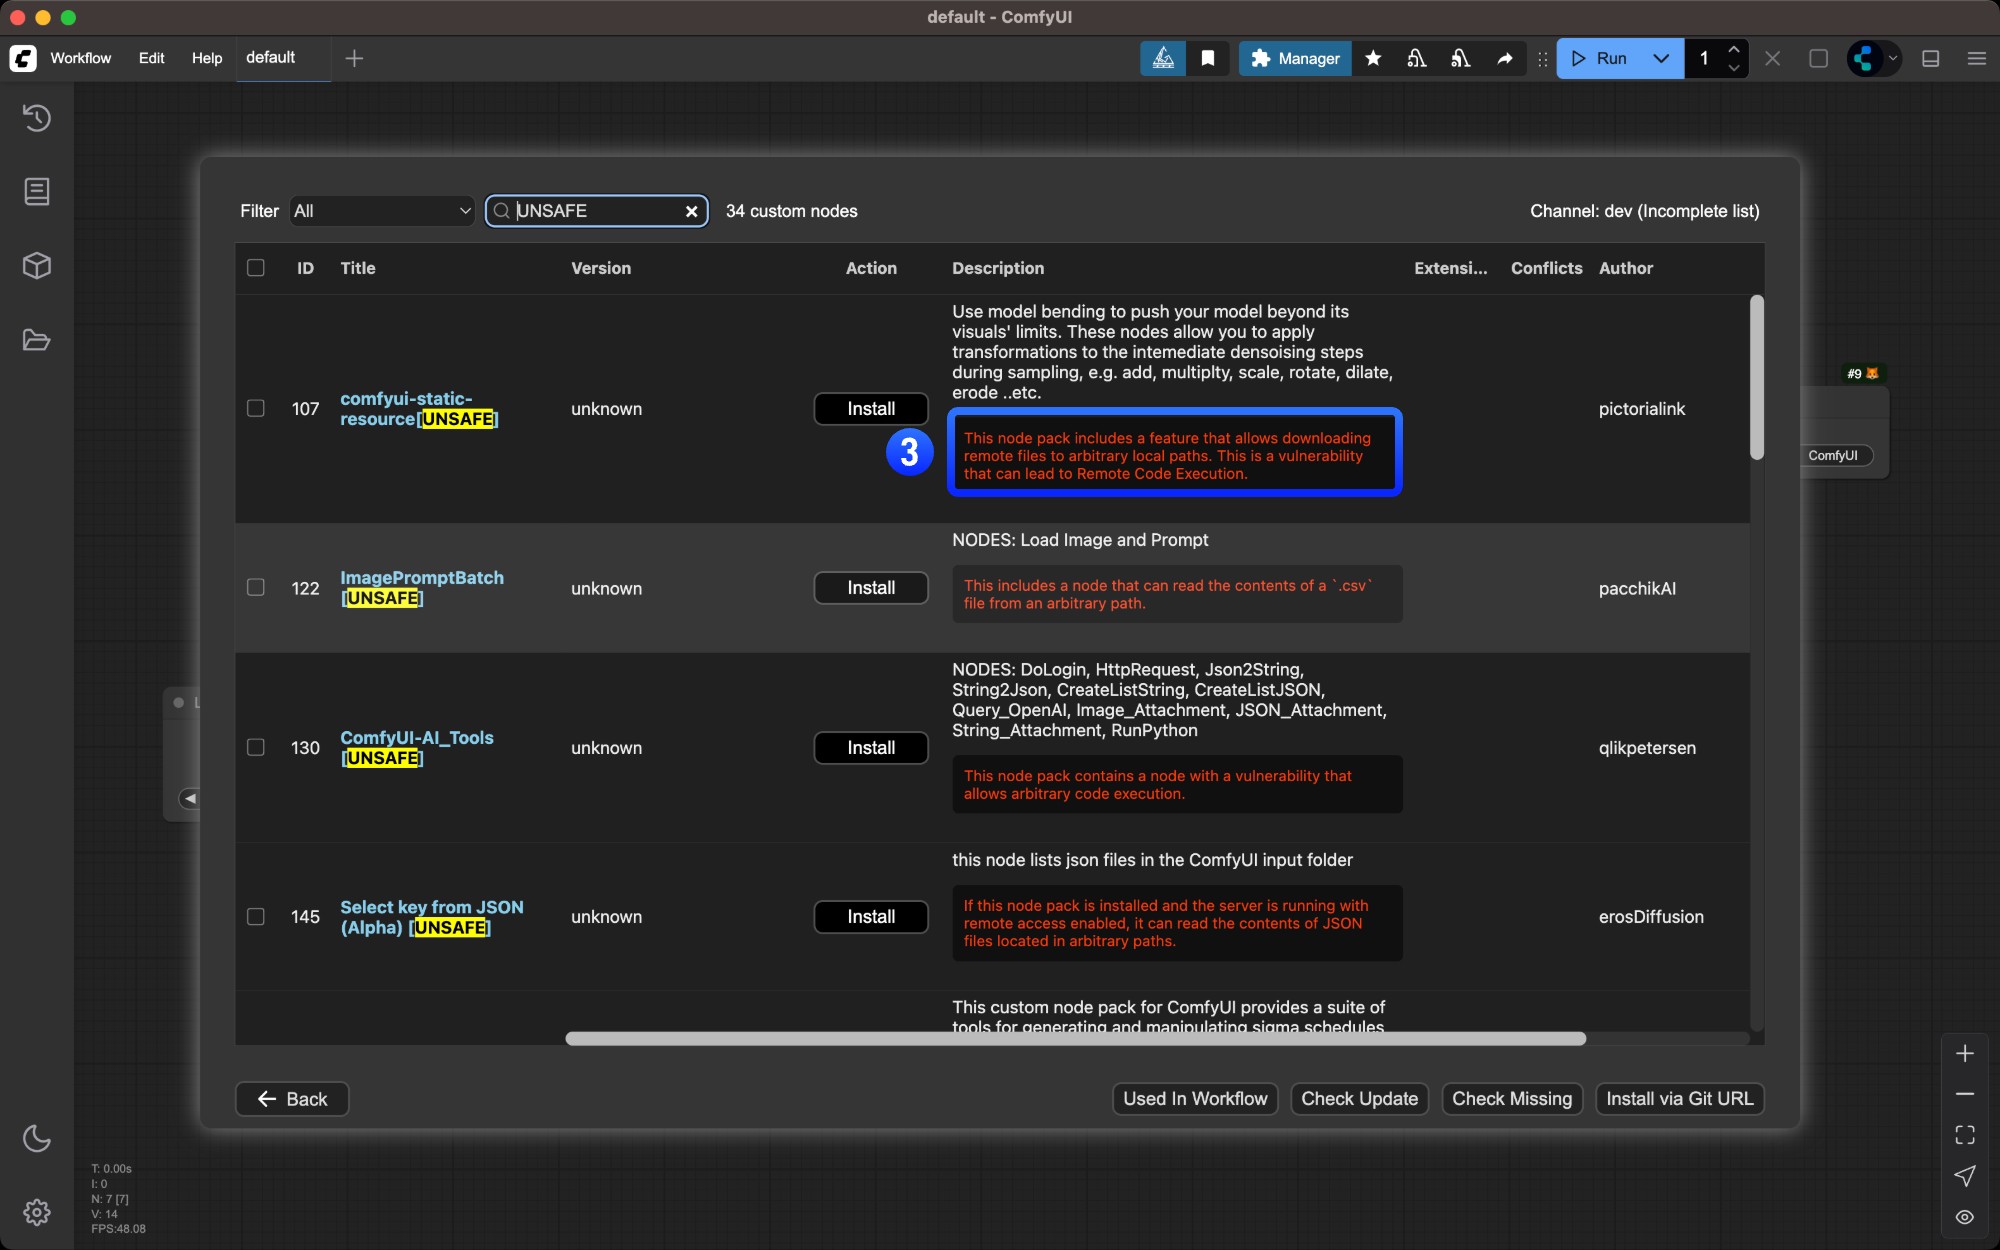
✅indicate their activity level on Github - Potential plugin risks are highlighted in red - ensure plugin safety before installing
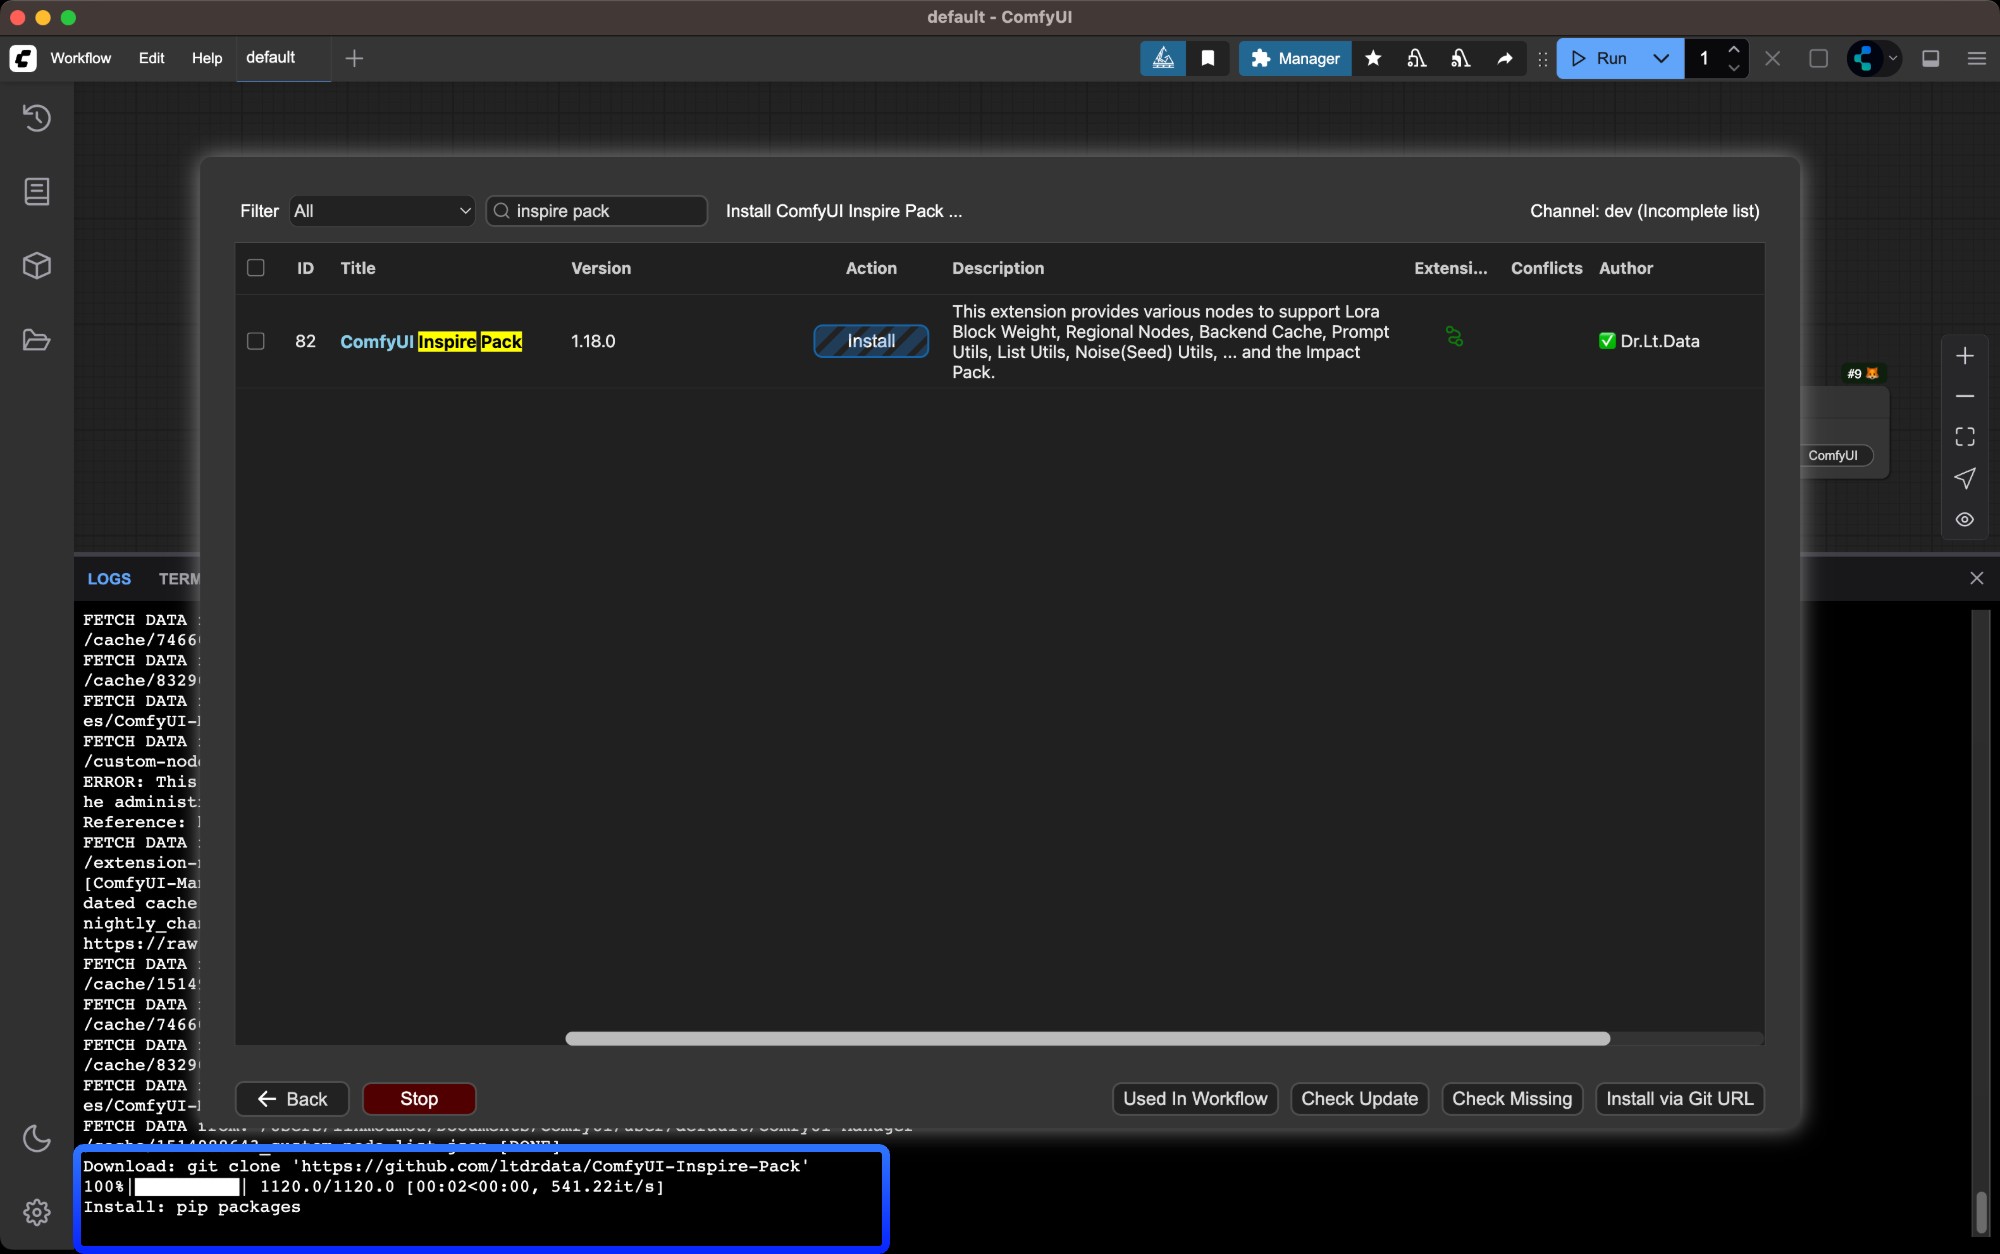
Click the `Install` button for the desired node
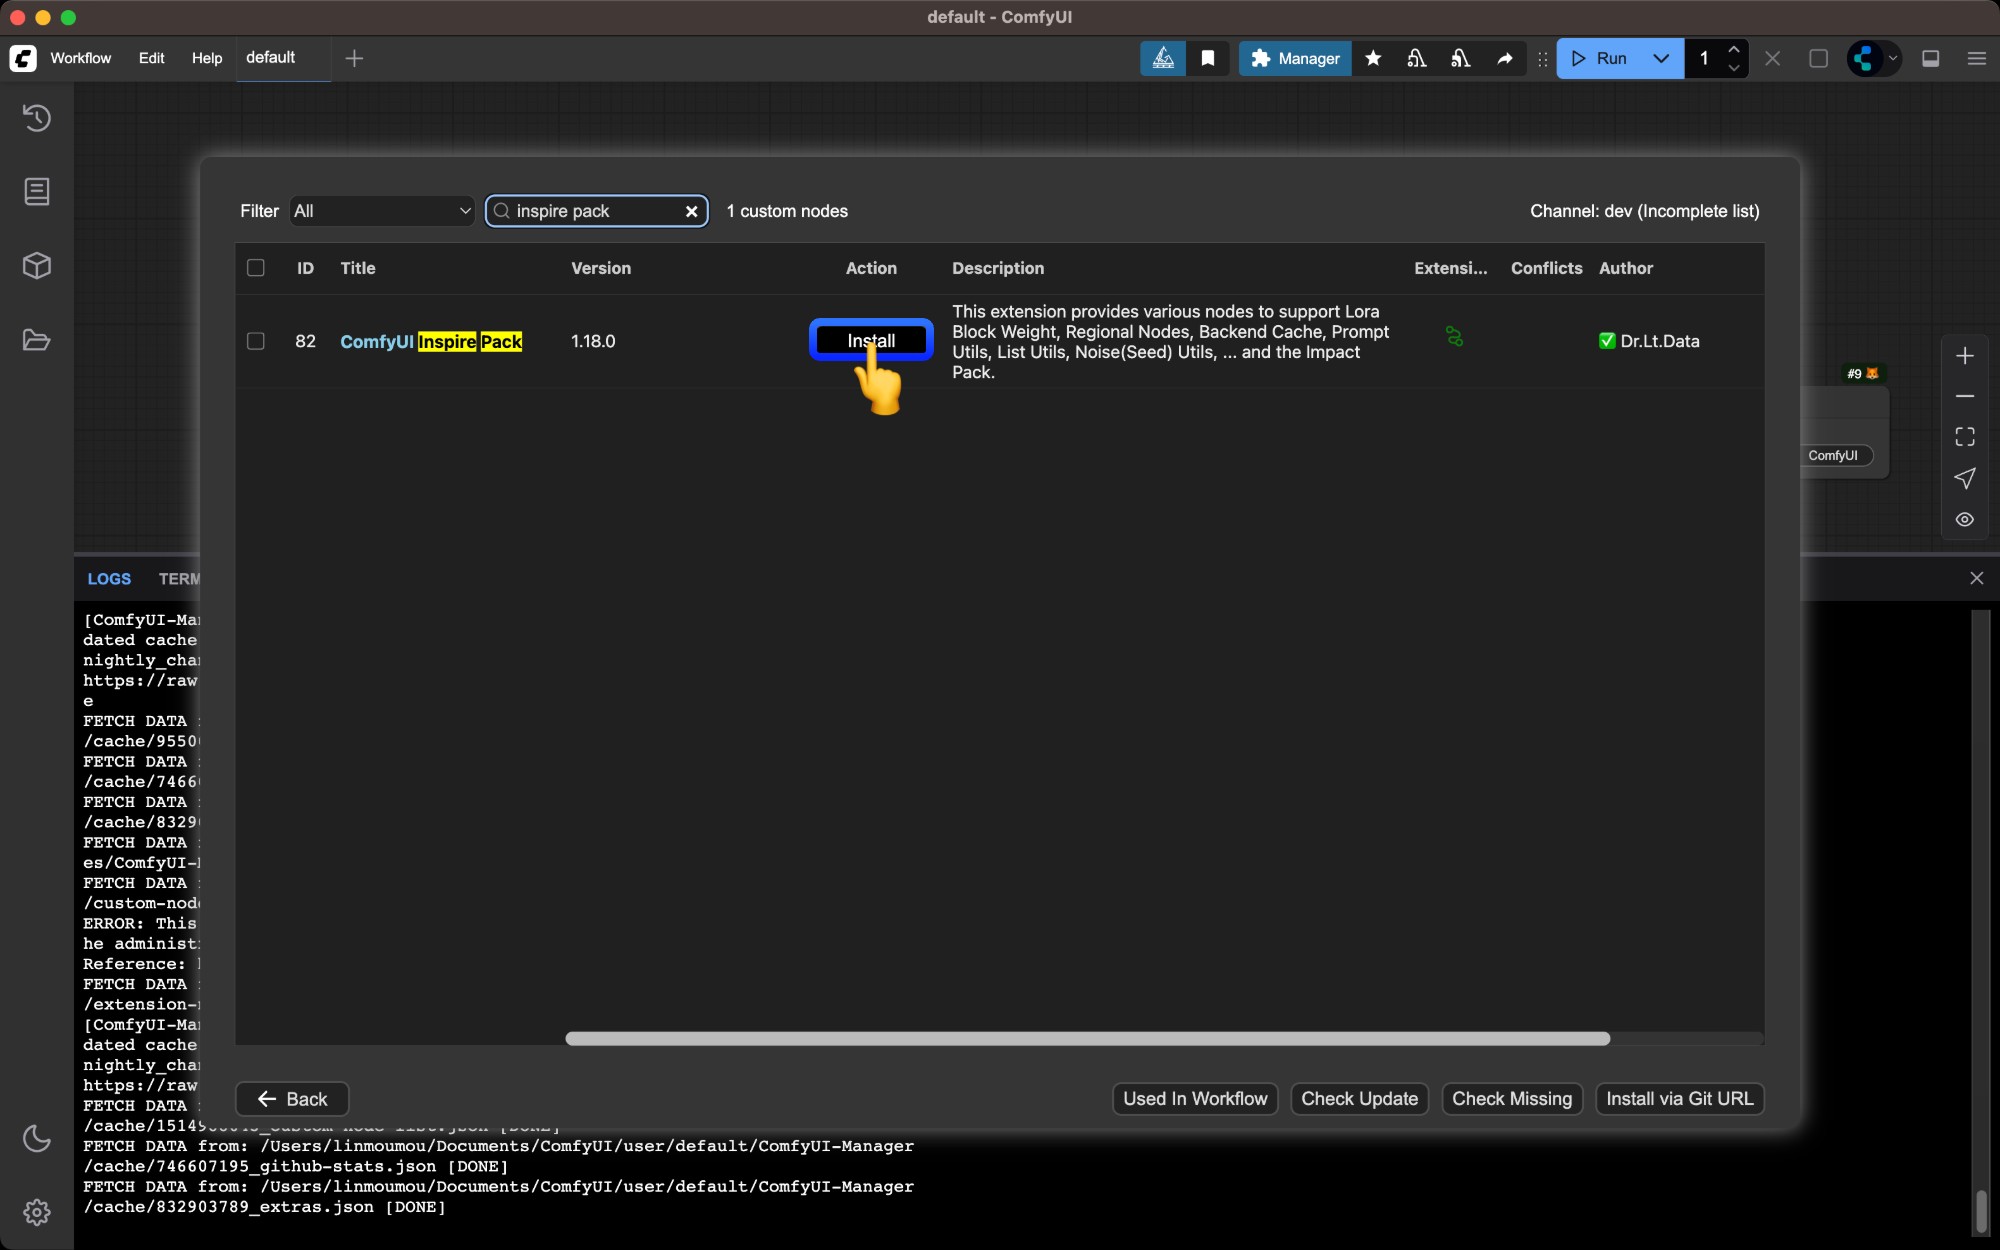 Find the node you want to install and click the
 Install button
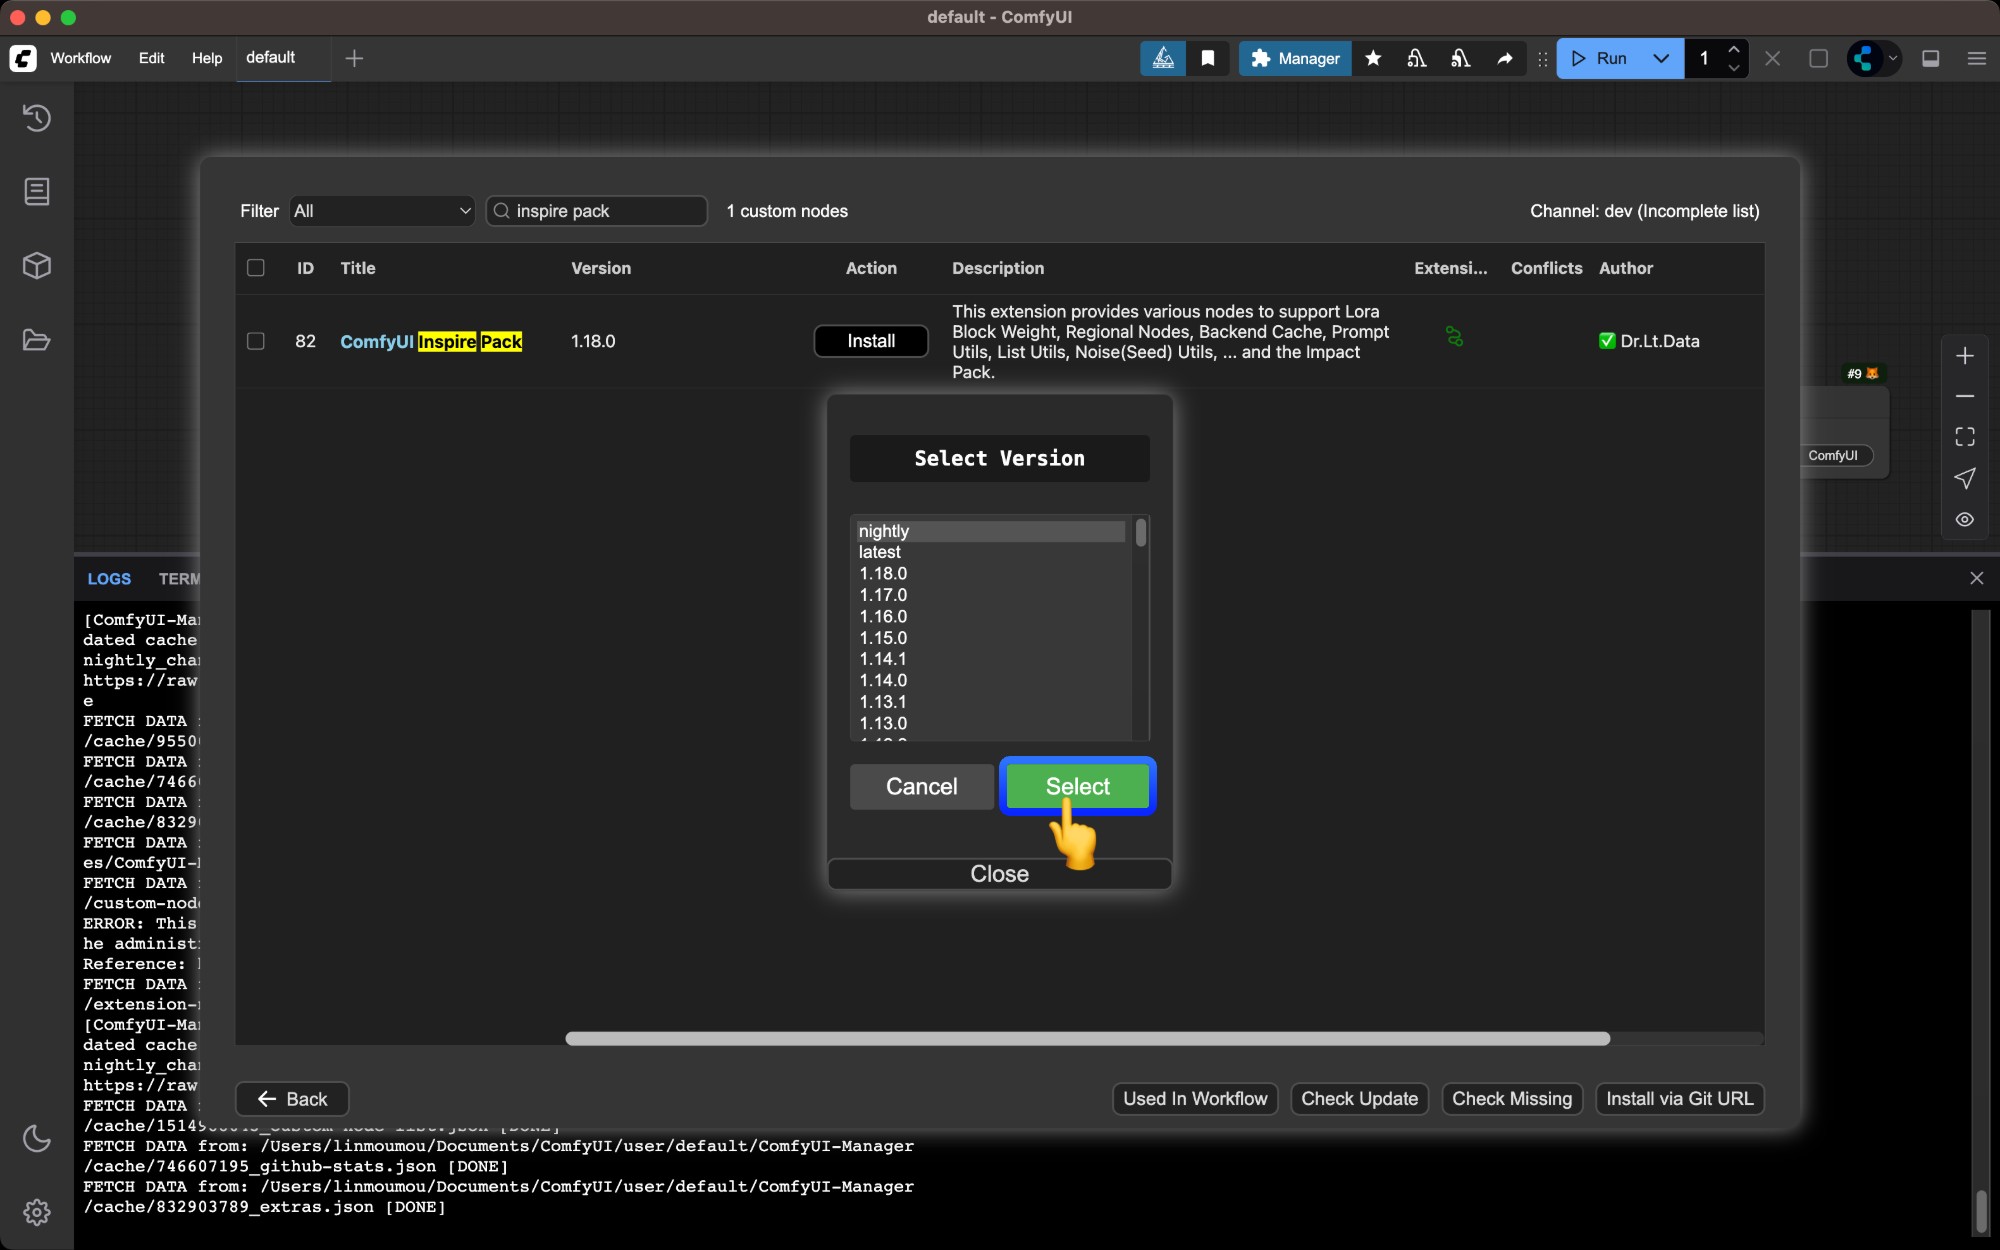 A popup will ask you to choose a version -
 nightly is the latest version, while latest is the most recent stable version. Choose based on your needs.Wait for dependencies to install and restart ComfyUI
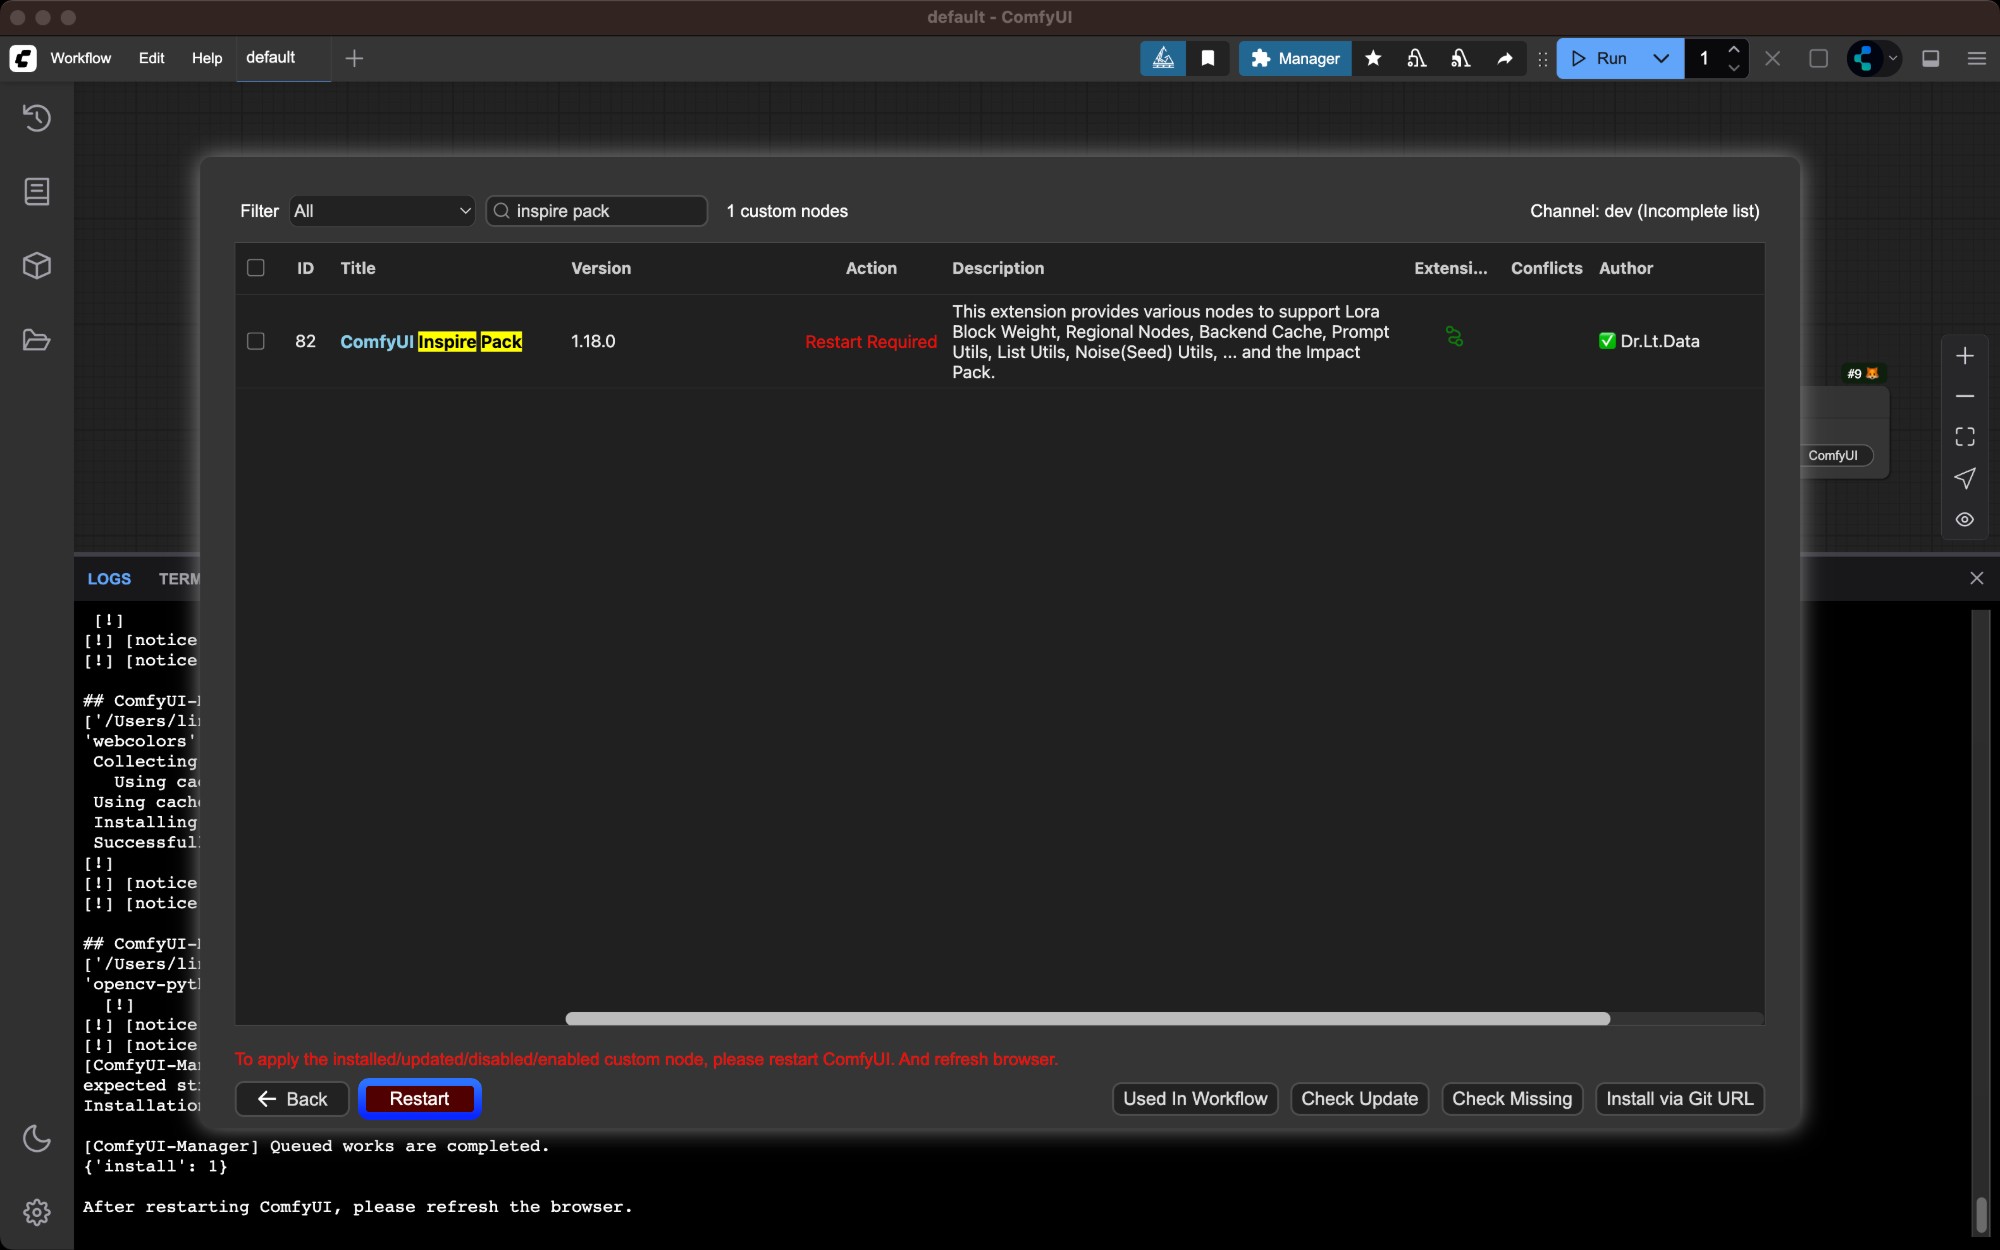
Manager will automatically install dependencies and prompt you to restart ComfyUI when complete
Method 2: Manual Installation Using Git
Suitable for new nodes not found in Manager or when specific versions are needed. Requires Git installed on your system.Install dependencies
Dependencies must be installed in your ComfyUI environment - be careful not to mix with your system environment to avoid contamination
- Windows Portable
- Manual Install
For Windows portable version, install dependencies in the embedded Python environment
Method 3: ZIP Download Installation
Suitable for users who cannot use Git or Manager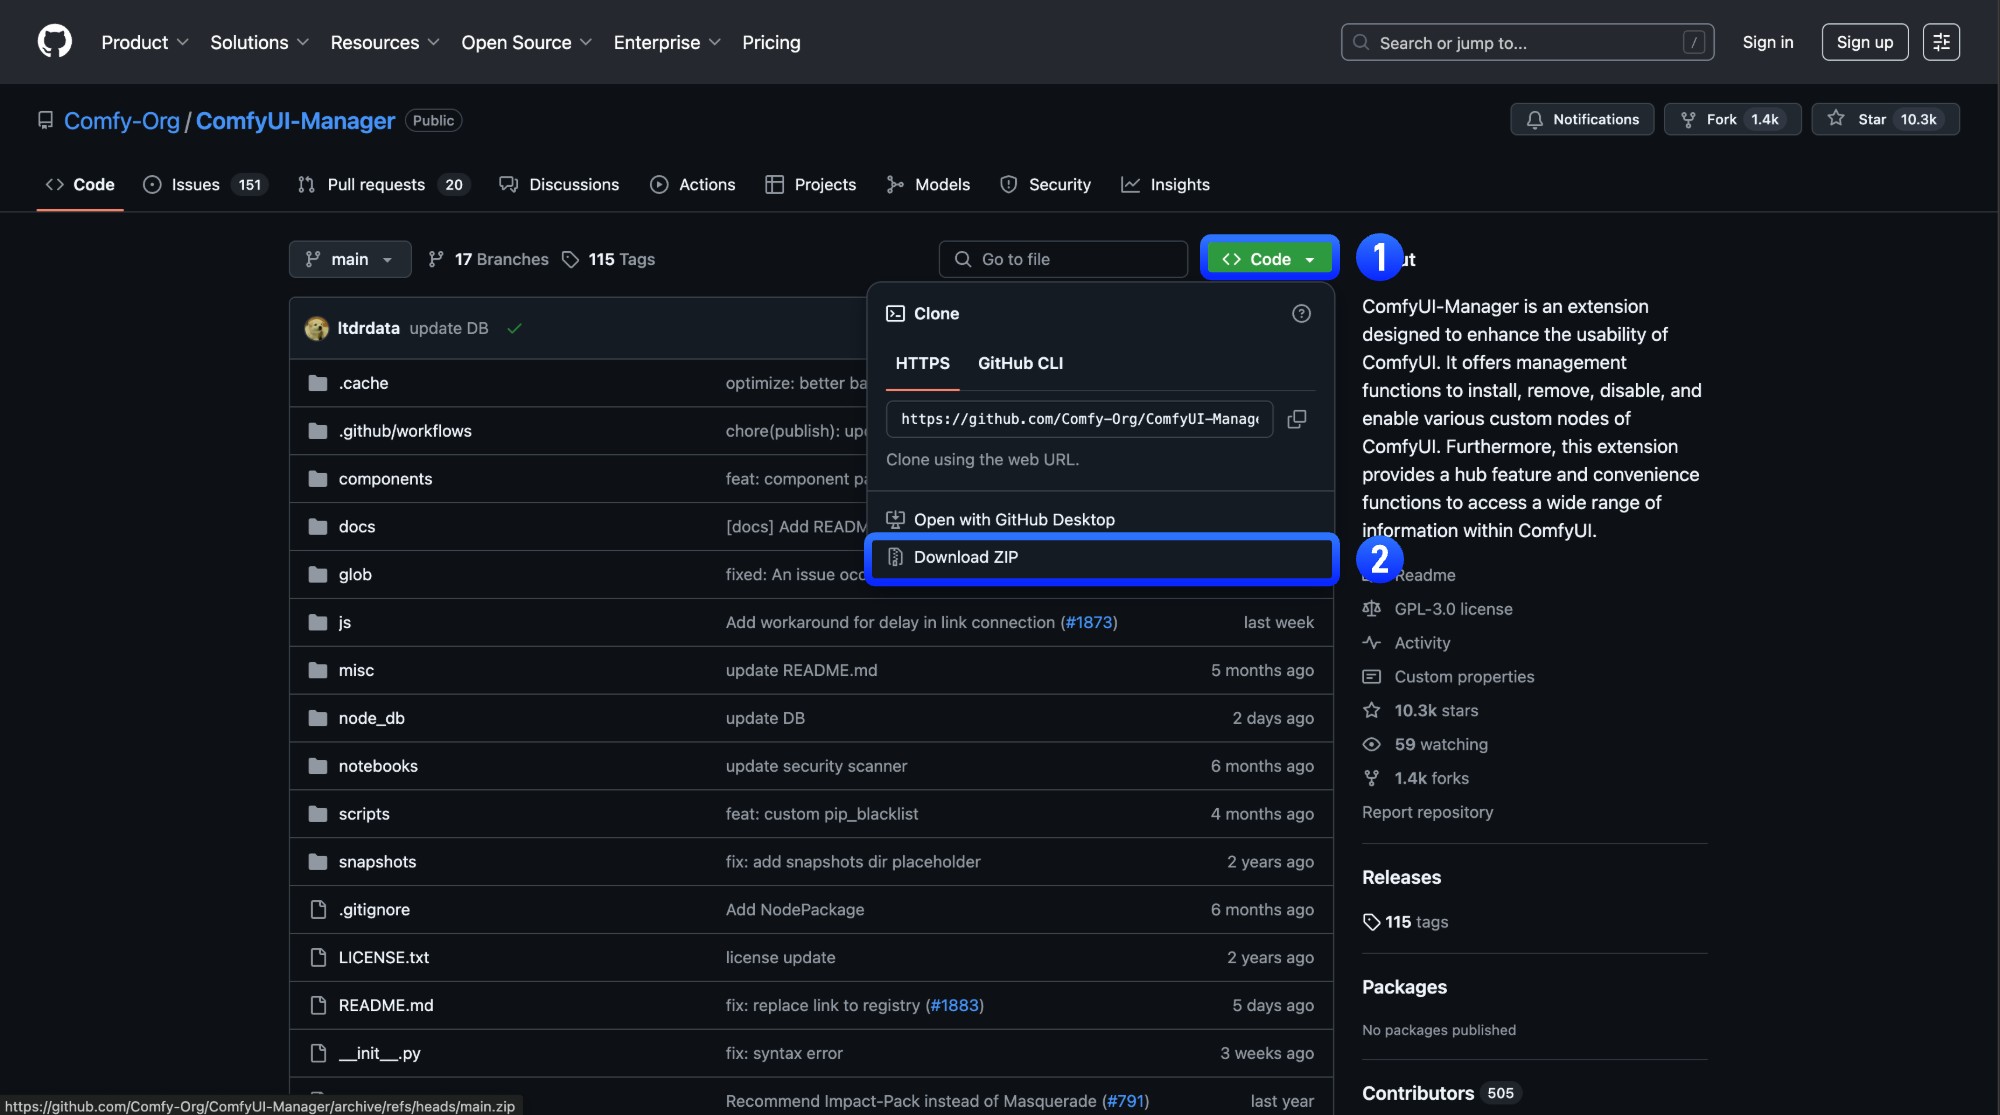
Copy extracted folder to `ComfyUI/custom_nodes/` directory
Copy the extracted folder to
ComfyUI/custom_nodes/ directory